


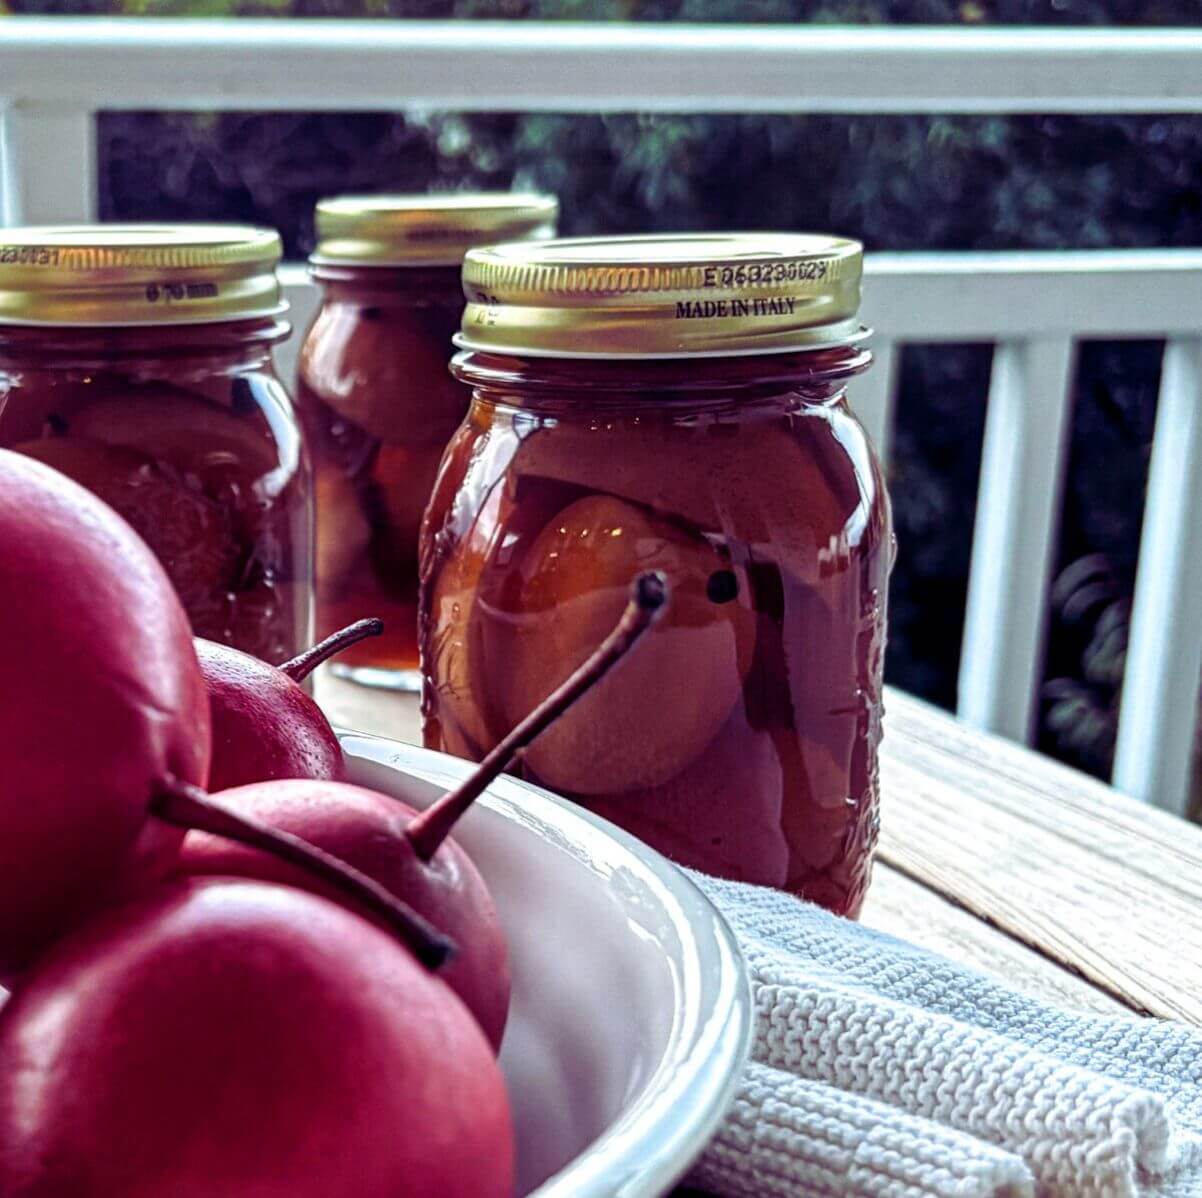
Liz's Pickled Pears
If you're new to the preserving game, pickled pears are a great place to start. They’re reassuringly easy to make and the result is a jar full of sweet-sour, gently-spiced perfection - equally at home on a cheeseboard as they are alongside roast meats - and they make a most thoughtful and generous gift, especially as part of a basket of homemade goodies. This recipe is a great little weekend project … and once you’ve made one batch, we think you’ll be hooked.
INGREDIENTS
Brine
This is a versatile sweet-and-sour brine that works beautifully not just with plums, but also with pears, peaches, plums, cherries, etc. It’s well balanced and easy to tweak - and safe for water-bath preserving.
2 cups cider (or white wine) vinegar
1 cup water
1 3/4 cups brown sugar (feel free to swap out for white sugar)
1 teaspoon fine sea salt
Pears
1kg small firm pears – washed, peeled (or not, you decide), quartered and cored.
Dry spices per jar (and feel free to ring the changes according to your preference here)
6 peppercorns
3 cloves
½ stick cinnamon
2 slices peeled fresh ginger
METHOD
Prepare the brine: Combine vinegar, water, sugar, and sea salt in a saucepan. Bring to a boil, stirring to dissolve the sugar and salt. Keep hot while you prepare the jars.
Prepare the pears: Wash and dry your fruit. If using larger plums, halve and pit them. For small plums, you can leave them whole but pierce the skin once or twice to help the brine penetrate.
Sterilise your jars (see below) and keep them hot until ready to fill.
Add dry spices directly to each jar. This lets you control the flavour intensity — we recommend 1 star anise and a few cloves or peppercorns per jar.
Pack the pears snugly into the jars. Pour the hot brine over the fruit, leaving 1cm headspace at the top.
Remove any air bubbles with a chopstick or non-metallic utensil. Wipe the rims clean and seal with lids and rings, fingertip tight.
Heat process jars for 15 minutes. Once done, turn off the heat and let jars sit in the water for 5-10 minutes before lifting out (jar tongs are perfect for this). Let cool on a clean towel undisturbed for 12–24 hours.

Heat Sterilising and Storage
Proper heat sterilising is essential for extending the shelf life of your preserves. Start by washing jars and lids in hot, soapy water. Then either place them in a pot of simmering water for 10 minutes, or run them through a hot dishwasher cycle. Keep jars hot until ready to fill to prevent breakage when the hot brine is added.
Useful tools include a wide-mouth funnel for clean filling, a jar lifter to safely move jars in and out of the hot water, and a clean tea towel for cooling. By heat processing your filled jars, you create a vacuum seal that allows your pickles to be shelf-stable for 2-3 years (depending on what you’ve pickled).
FAQs
Q: Can I reduce the sugar in the brine?
A: It’s best not to reduce the sugar too much — it helps with preservation and flavour balance. You can experiment slightly, but always keep vinegar content the same.
Q: Do I have to water-bath process the jars?
A: Yes, if you want them to last. Alternatively you can keep your pickles in the fridge for three months.
Q: Why do my pears float?
A: This is normal! Fruit often floats after processing. We’ve tried every method we can find to try to stop this happening – to no avail! Just go with it.
Q: Can I eat them straight away?
A: Technically you can but you know the ad … ‘good things take time’ and so do pickles. A good month of shelf time will mellow your vinegar, allow your pears to steep and the flavours to round out. It’s definitely worth waiting!
More from our Recipe Library ...
View all