


Preserving 101: Sterilising Jars
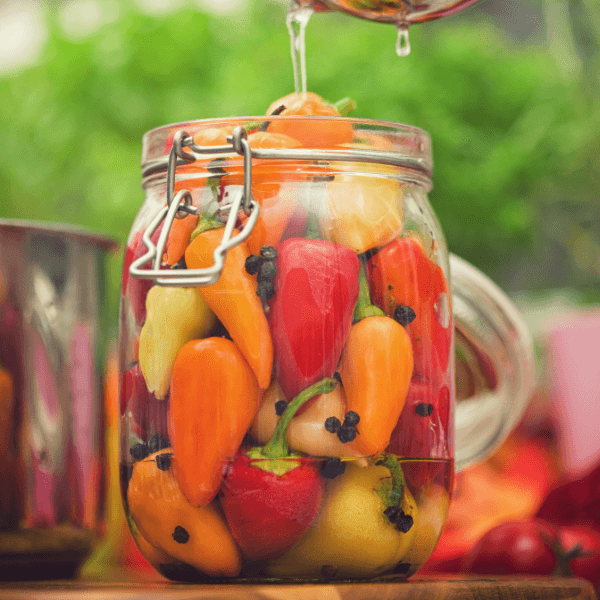
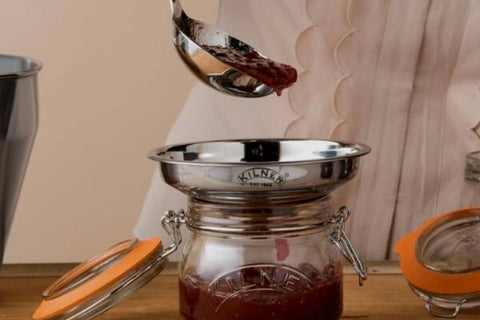
Few things rival the satisfaction we cooks feel when we stand contemplating a fresh batch of preserves gleaming with promise in their sparkling jars. Jams and jellies; chutney and pickles; sauces, marmalade and cordials - homemade from scratch, cooked in season (with affordable produce at peak freshness) and with recipes chosen for what your family likes to eat – it’s the way Kiwi cooks and preservers have learned their craft for generations
To get those preserves to last the distance, safely, so that we can spike up heavy winter meals, we need to learn a few basics to keep them safe and edible. If you’re new to preserving some of the basic rules, like sterilising your equipment, can seem a bit daunting as there is so much conflicting advice out there. Here’s where the team at Milly’s come in because we know that if you observe just a few basic rules and arm yourself with one or two specialist tools, an Insta-worthy pantry can be yours too!
Small-batch preserving demands little more from us than setting an afternoon aside armed with a sturdy preserving pan, some good quality jars, a long handled wooden spoon, a pile of tea towels and some jar tongs. A good sharp knife (or mandoline) will also come in handy plus, of course, your recipe and fruit or vege of choice.
While it’s always tempting to rush into cracking on with filling those jars, you will never regret taking your time to prepare your jars well by making sure they are completely clean and ensuring your preserves last the distance. Cleaning and sterilising is crucial for two reasons:
- Bacteria lurking in jars can multiply rapidly and to dangerous levels without affecting the look, taste, texture or smell of the food. There is often no way of knowing that food has spoiled until you’re feeling most unwell.
- Clean jars extend the shelf life of your preserves. We’ve worked hard and invested our time and resources in squirreling food away to take the load off future us so it makes sense that we do everything we can to make it last as long as we possibly can.

There are a number of ways you can effectively and efficiently sterilise your preserving jars. All you have to do is choose the method which most suits your kitchen set up and the time you have available.
Remember, anything that comes into contact with your preserves while your cooking them or storing them must be clean. This is no time to be casual about hygiene.
Always inspect your jars for chips or damage, especially around the rim. Chipped jars are unlikely to seal properly which will shorten the life of your preserves.
Here are the sterilising methods we prefer (and use at home):
Oven Method:
- Wash jars and lids thoroughly in hot, soapy water. Remove all labels and glue, then rinse jars with hot water without drying.
- Place jars upside down on a clean roasting or oven tray and transfer them to an oven preheated to 150°C oven for 15 minutes. Turn off the oven and leave jars inside to keep warm until filling.
Boiling Method:
- Wash and check jars as above.
- Submerge jars in a large stockpot of boiling water, ensuring they're completely covered and with no air pockets. Boil for 10 minutes, then use clean tongs to remove jars and place them upside down on a tea towel-lined tray to air dry. Again, they should remain warm for filling as pouring hot preserves into a cold jar can result in the jar shattering which is too boring for words after all the work you’ve done.
Dishwasher Method:
- Wash and check jars as above.
- Run jars through your hottest dishwasher cycle, ensuring they are bone dry before use. It's best to sterilise jars on their own (ie not accompanied by greasy dishes and used cuterly) so this method is better for larger batches of preserves where you will need a quantity of jars to make it worth putting it through. Keep jars in the dishwasher until ready to fill.
And what about the lids? Thoroughly wash them, then boil metal or plastic-lined lids for 15 minutes in a pot of water on the stove. Keep them in the hot water, covered, until ready for use.
A couple of other points:
1. Cold jars can shatter if you fill them with boiling hot preserves so ensure that your jars and lids are hot and dry before you commence filling. This can sometimes require careful timing so plan ahead.
2. If you’re using rubber or silicone seals ie Fido jars, remove these from the jars before sterilising.
3. It’s ok to reuse lids but always check these carefully for signs of damage or rust and discard those which are not suitable.
A couple of additional tips:
- Cold jars can crack when filled with boiling preserves, so ensure they're hot and dry before filling. Timing is key, so plan accordingly.
- If using rubber or silicone seals like Fido jars, remove them from the jars before sterilising. Sterilise them separately with your lids.
- It's safe to reuse lids, but inspect them carefully for signs of damage or rust before discarding any unsuitable ones.
The Milly’s team has honed their preserving skills over the years and delights in sharing their expertise. Don’t hesitate to visit us with your questions—there's no mistake we haven't made, so ask away!
More from our Recipe Library ...
View all