


Milly's 101: Perfect Pastry
Welcome to our guide to making and baking the perfect homemade pastry. With the right recipe and tools (and our hints and tips) you'll realise, as we have, that making pastry from scratch is super simple and so satisfying - and much nicer, and cheaper, than store-bought (except super flakey - that's ALWAYS worth buying cos we know 'too fiddly' when we see it!)
Our team has honed their pastry-making skills over many years and we love nothing more than sharing our expertise. We've also made ALL the mistakes over the years so we're hoping that our guide will help you short circuit your way to perfect pies and tarts!
Whether you're a seasoned baker or new to the delights of homemade pastry, these tips will help you achieve pastry nirvana so let's dive in!
As with all recipes, starting with great ingredients is key. When making pastry we recommend you use a good 'plain' flour. Bread flour (commonly known as 'hi-grade' flour) has a higher gluten level which can more easily yield a tougher pastry which can shrink in the blind baking process.
1. Embrace the Cold
Cold is your pastry's best friend. Keep everything from your hands to ingredients, beaters, and bowls, as chilled as possible. A food processor is a handy tool for this job too as it minimises the time your hands are in contact with the dough which results in more tender pastry. If you find your pastry warming too quickly feel free to put it back into the fridge to chill back down before keeping going with your recipe.
2. Let It Chill
After making your pastry, allow it to relax and chill out in the fridge for at least 30 minutes. This resting period helps the dough relax and helps prevent it shrinking when rolled and fitted into your tin or pie plate.
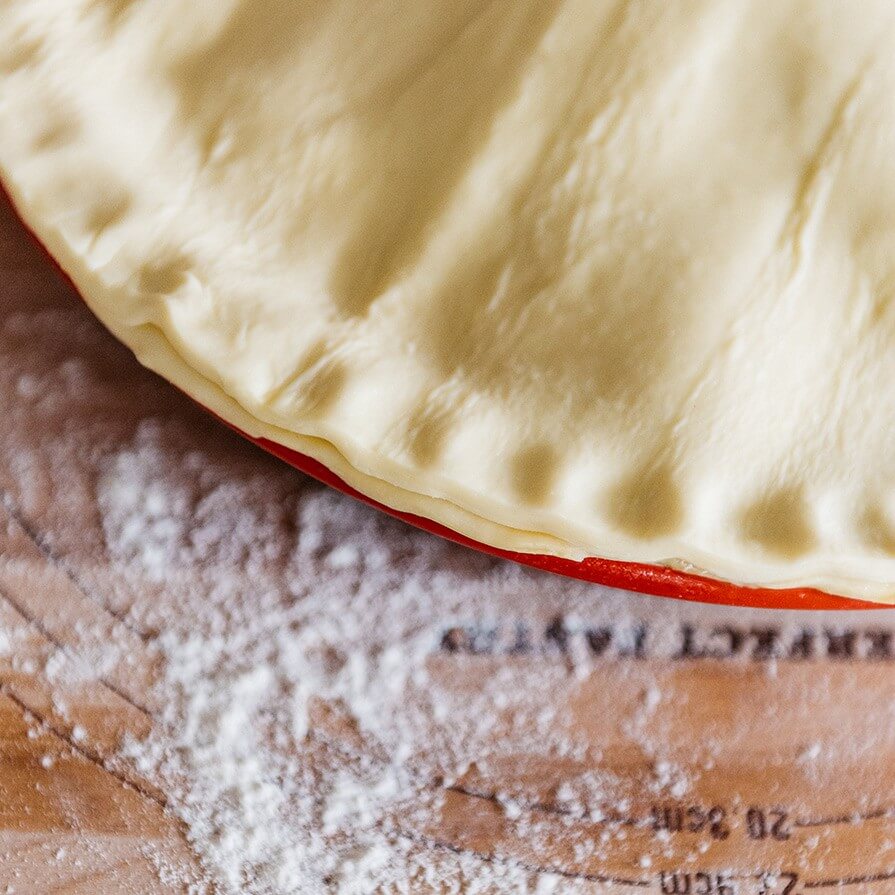
3. Roll, Don't Stretch
When lining your tin with pastry, resist the urge to stretch it. Roll it out to your desired size (the size of your base and sides with a little more for overlap) and then carefully transfer it to your tin (by looping it over your pin) before gently easing it into the corners and up the sides.
Sometimes a recipe will call for you to 'blind bake' your crust before filling it. Blind baking a pie crust is a very simple process. Start by lining your rolled and chilled/rested crust with parchment paper (or foil) then fill it with pie weights (or dried beans or rice).
At this stage we often 'dock' the base by pricking it all over with a fork which, along with the baking beads, helps prevent the pastry from rising and puffing up as it blind bakes. Bake in a preheated oven at 180C (or the temperature your recipe calls for) for about 10-12 minutes. Then remove the parchment paper and baking beads and cook for a further 5-10 minutes or until the crust is lightly golden brown. Keeping a little uncooked dough aside to patch any holes or cracks that appear during the blind baking process is always a good idea too.
4. Keep Fillings Cold
Always use a chilled filling. Hot fillings will start to melt the fat in the pastry before it has a chance to cook which can result in a soggy crust (a pastry baker's arch nemesis!)
5. Watch Your Fill Level
Don't be tempted to overfill your pie (we know, it's tempting to use it all up but, trust us, it's better to make a little 'cook's treat' than to deal with overflowed filling all over your oven floor!) Aim to fill your pastry case to about (or a little over) three-quarters full.
6. Heard of a Pie Bird?
For larger pies, consider using a pie bird to allow steam to escape thereby keeping the pastry crisp and preventing filling overflow. If you don't have a pie bird, simply cut a slit (or two, decoratively) into the top pastry to achieve a similar result.
7. Seal the Deal
When adding a top crust to your pie roll out the pastry, again without stretching it. Brush egg wash around the lip of the bottom pastry before placing the top layer. For a decorative touch and a secure seal, crimp the edges of your pies.
8. Shine Bright with an Egg Wash
For a beautiful, shiny finish, always egg wash the top of your pies before baking. It adds a lovely golden sheen to your pastry.
9. Prevent Over-Browning
If your pie is browning too quickly before the filling is heated through, cover it loosely with foil. You can also slightly lower the oven temperature and move the pie to a lower oven rack.
10. Ensure a Cooked Bottom
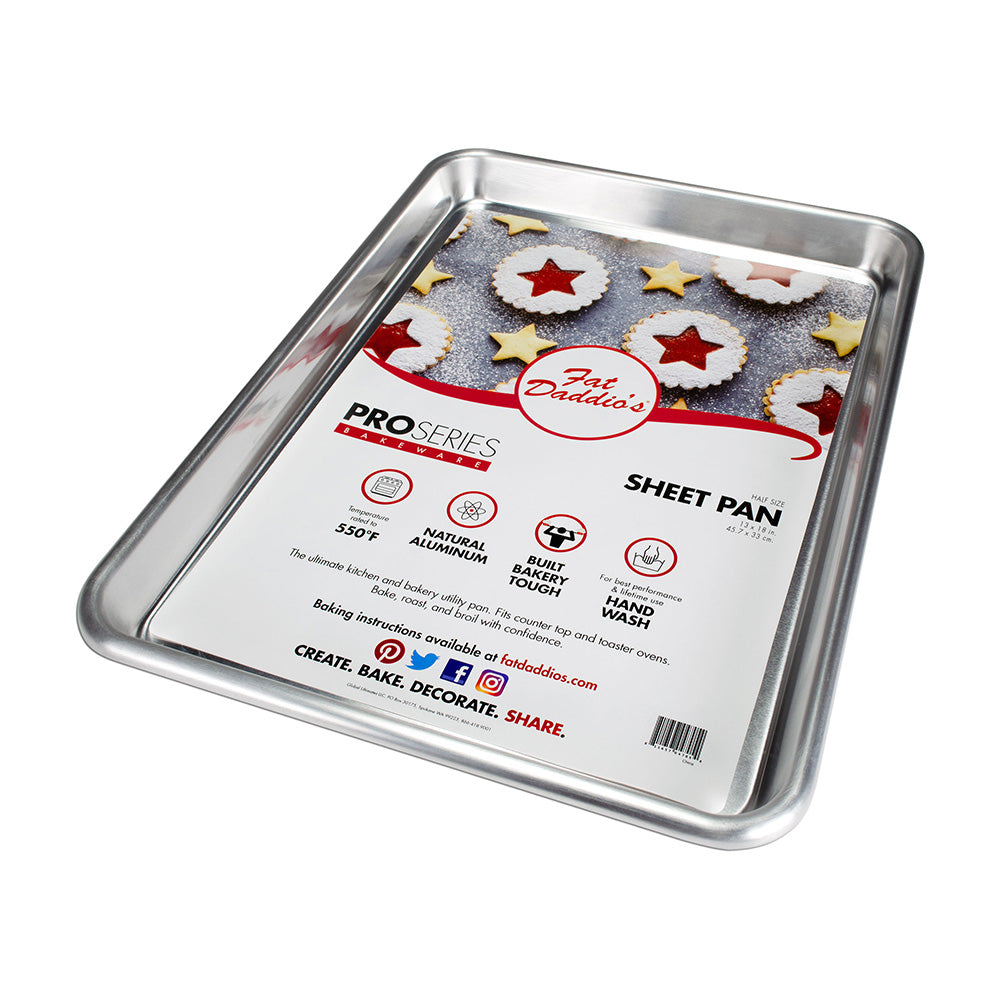
To ensure your bottom pastry is fully cooked, try placing your pies on a preheated baking tray in the oven. This will help to distribute the heat more evenly and assists in preventing the dreaded 'soggy bottom'.
With our expert tips, you're well on your way to crafting perfect homemade pastry. Remember too that practice makes perfect so don't be discouraged if your first attempt isn't quite there. Keep baking and experimenting (sometimes it's good to write notes so that you can recall how you've tinkered with oven temperature or timing, ingredients and process etc - and soon you'll be making and baking pastry to be proud of. Happy baking, from the team at Milly's!
More from our Recipe Library ...
View all