Milly's 101: As Sure As Eggs
A perfectly poached egg - so simple! But as is typical in the kitchen, that which appears a doddle rarely is. And that’s probably why, more than any other food group, egg tools and gadgets are represented so largely in kitchen stores such as ours. If you’re having problems with your poaching, seizures about your scrambles or you’re in a flap about your fried, it may well be that we have the perfect something to ensure having eggs ‘your way’ is a bit less stressful.

Poached
If there’s a method we hear people struggling with more than any other, it’s definitely poaching. The cafes seem to produce them in a flash, perfect every time – it’s enough to give you a complex! In fact, ‘poaching’ tools are requested more than any other in store. Luckily, there are plenty on offer:
Poachies: We think these are as close as you’ll come to a café style poached egg. Simply drop your raw, shelled, egg in to a poachie pouch (similar to a large tea bag) and then in to a saucepan of boiling water. Leave it for around three minutes (for just set, with a runny yolk) or four for a more firm yolk. Lift the poachie out with tongs and slide your egg out onto your toast. While single use, each poach pouch is compostable, so you’re assured of perfect poaching without worrying about unnecessary plastic.
Poach Pods: One of our favourites, these nifty little gadgets have just reappeared on the market and we’re delighted. They produce what could more technically be called a coddled egg as they are not cooked actually in the water but, particularly slightly less fresh eggs, will come out nicely cooked and uniformly shaped. Simply spray or brush your pods with a little cooking oil, break in your egg and float the pods in a pan of simmering water. Cook over a low/medium heat with the lid on so the eggs cook from both top and bottom. When cooked to desired firmness, simply lift out with the handy ‘poach pod lifter’ before turning the eggs out onto your toast.
Bonus: these are also suitable for use in your microwave – perfect for student flatters too!
Second bonus: Add smoked salmon, sautéed spinach, chopped ham, shredded herbs etc to make a complete breakfast.
Poaching Pans: utilising a very similar principle to poach pods, an egg poaching pan has the benefit of including 4 or 6 cups, for multiple eggs in one batch, and a very handy deep sided frypan/ saute pan that can be used for multiple cooking tasks around the kitchen. Our favourite is the Demeyere Poaching Pan.
Boiled
How many times have you tried to boil eggs only to have the shells crack in the hot water and you lose half your egg around the pan? An egg piercer lets you control the ‘crack’ so this shouldn’t happen – room temperature eggs help with this too. Worried about how long to cook your boiled eggs for? Grab an Egg Perfect Colour Timer – simply place in your pan along with your eggs and this handy little helper will change to different colours according to how soft or hard boiled your eggs are. Particularly good for when everyone wants their eggs to slightly different ‘cookedness’.
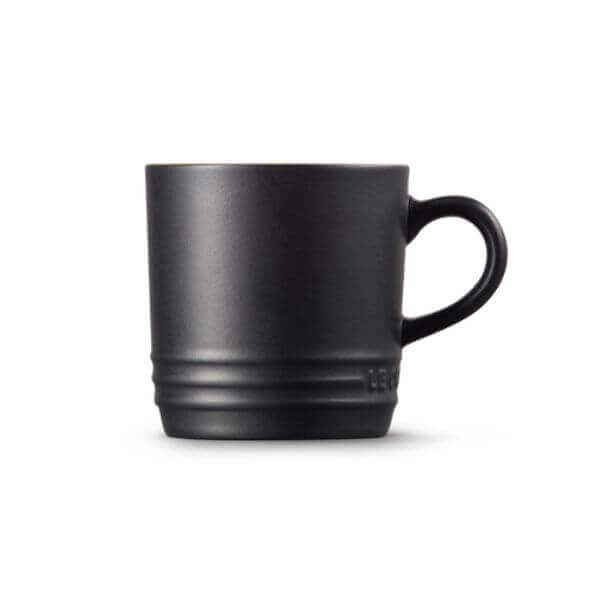
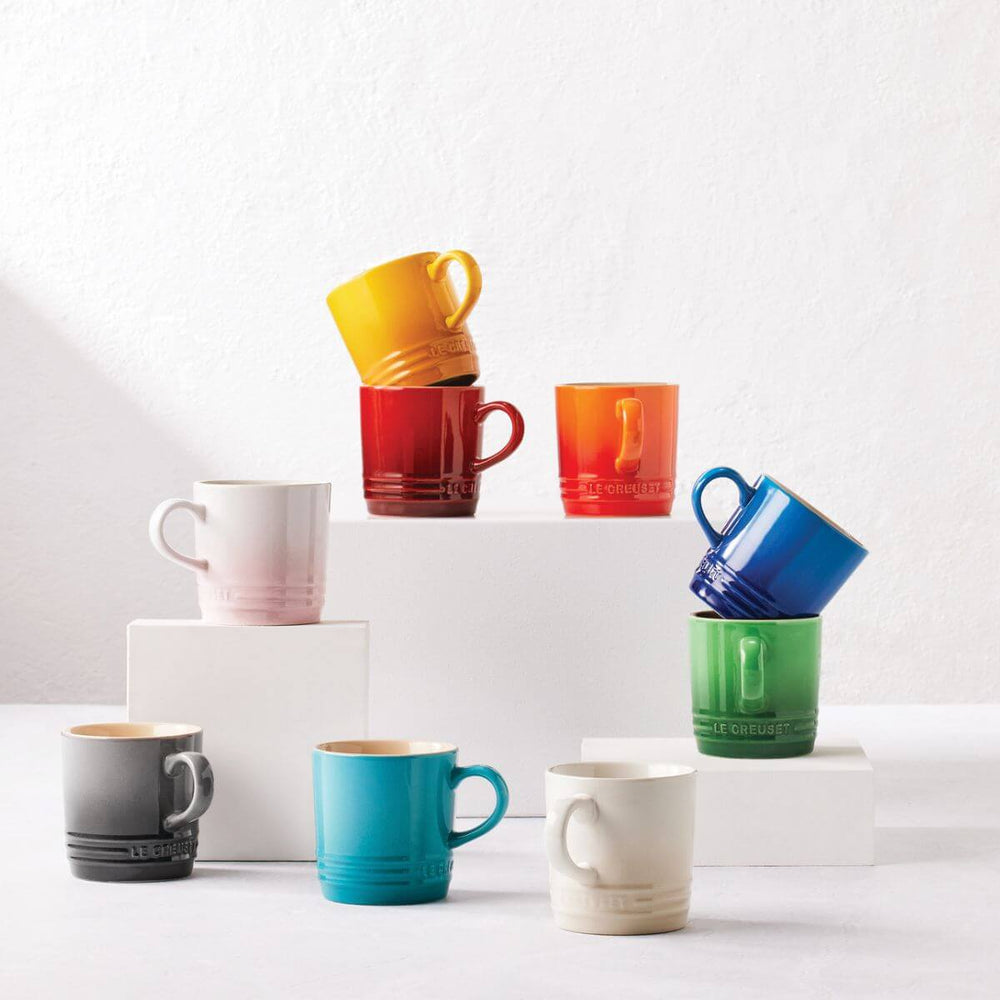
For serving a boiled egg there is no easier method than an egg cup, like the beautiful colour selection available from Le Creuset. Or, for kids, the super-cute McEgg from WMF with its hat cover to keep your egg warm, special egg spoon and a cute little hammer to break the shell open.
Sunny Side Up It’s all about the pan!
We recommend a good quality, heavy based, non-stick or cast-iron pan. The surface should be able to provide a medium-low heat in a uniform manner across the surface of the pan with no ‘hot spots’. If you’re happy to add a little more oil or butter, a stainless steel pan with a good sandwich base would also be suitable but any scratches on the surface will encourage sticking so watch out for these.
It’s about the tools too! A good quality spatula/turner/egg or fish slice for flipping (something that will tolerate the heat of your pan and which is designed to easily slide under food. A little flexibility is good but not too much as it may not support the weight of your egg). We like silicone as they are tolerant of higher heats than nylon but won’t scratch your non-stick surface. Stainless steel is also good if you are using stainless steel or cast iron pans.
Omelettes and Scrambles
Again, we recommend a good quality, heavy based non-stick pan. These will give you much less grief than any other surface treatment and allow you easy clean up as well. Don’t be afraid to add a little butter as even just a smidge will add lots of flavour.
We are particularly keen on Gordon Ramsay’s method for scrambled eggs. Simply crack your desired number of eggs straight into your pan (we allow two per person), add 10g butter for each egg, ie 60g of chilled, cubed butter for 6 eggs. Place over a low heat and begin to stir to amalgamate and scramble. Keep stirring gently but continuously until eggs form soft clumps. Take off the heat and keep gently stirring until done to your liking. Add salt and pepper to taste and serve on hot buttered toast.
The Perfect Shape
Don’t be afraid to use egg or crumpet rings. These handy little circles are particularly useful for fried eggs for burgers and breakfast sandwiches. Our new EggXactRing is a very good option as it allows you to adjust the size to accommodate small and large eggs, pancakes of various sizes and crumpets too.


