Milly's 101: A Good Casserole
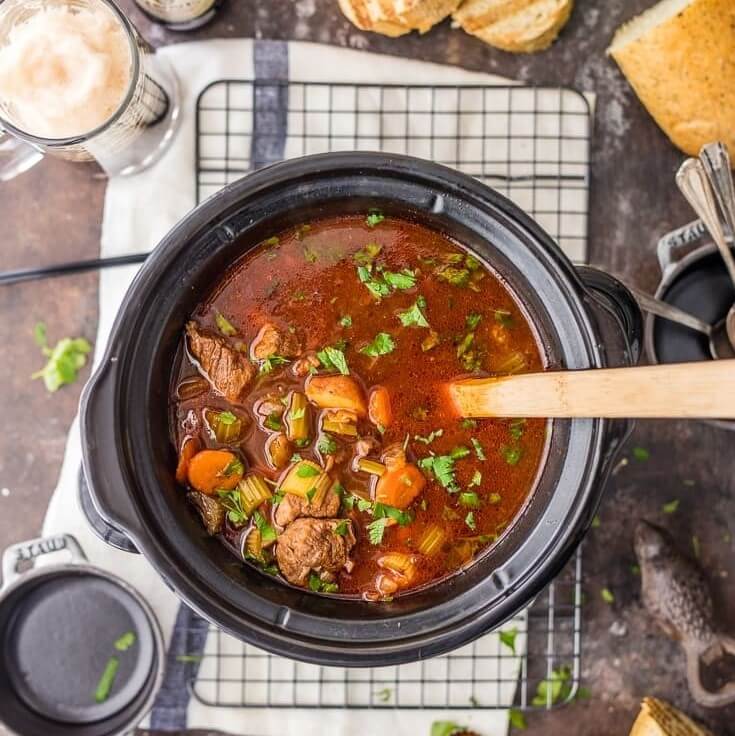
This handy guide is adapted from one of our favourite food magazines, Fine Cooking, and is a complete ‘how-to’ on mixing and matching what you have in the fridge with the flavours you love to create a slow cooked dish without endless trips to the supermarket. Let’s get started …
Step 1. Brown the meat
Feel free to choose those luscious cheaper cuts of meat for stewing and braising – they have more flavour and usually contain heaps of connective tissue for that lovely sticky, gelatinous texture (thinking oxtail and beef cheeks here) and cut the meat up yourself rather than buying pre-cut – bigger chunks won’t dry out over longer cooking times the way little pieces will.
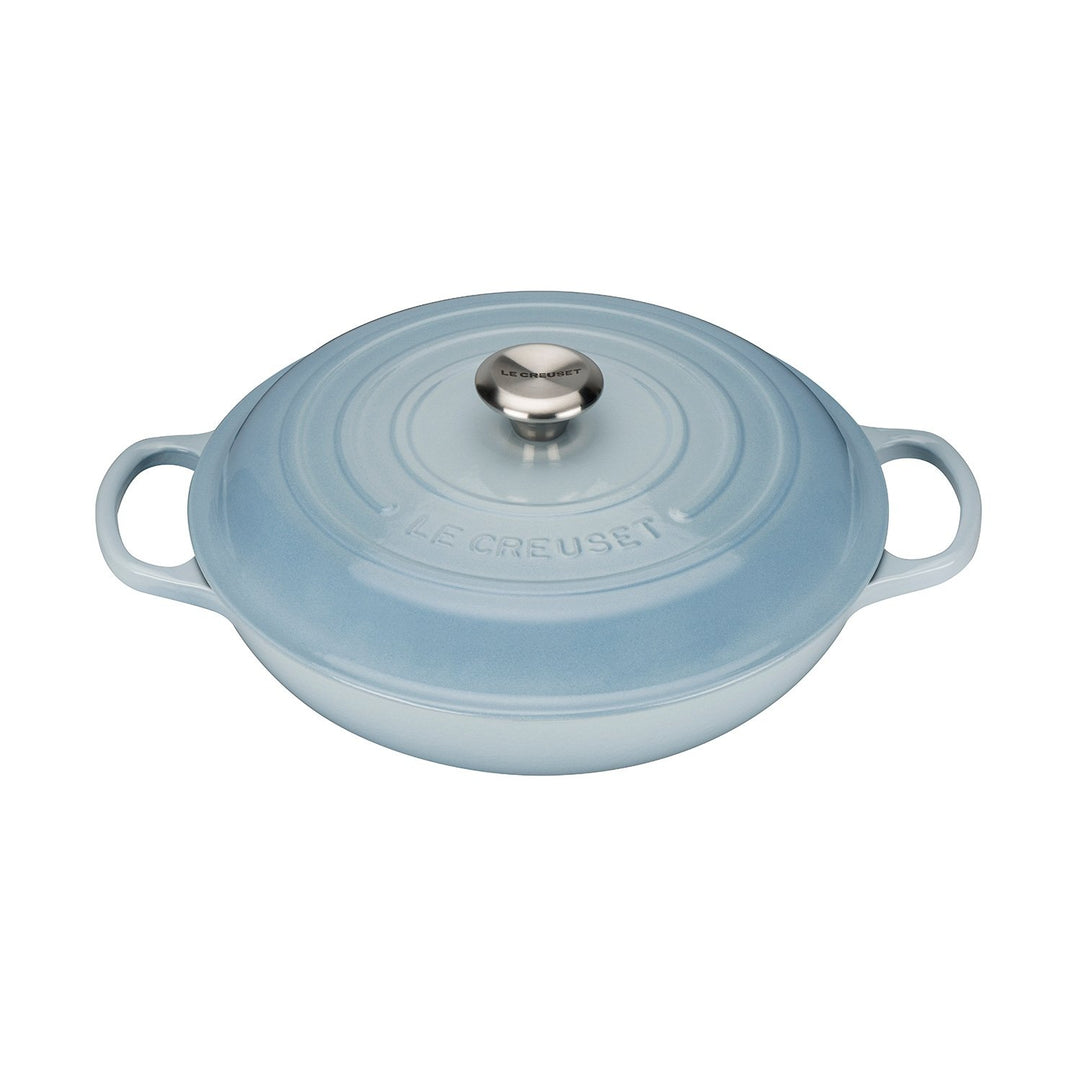
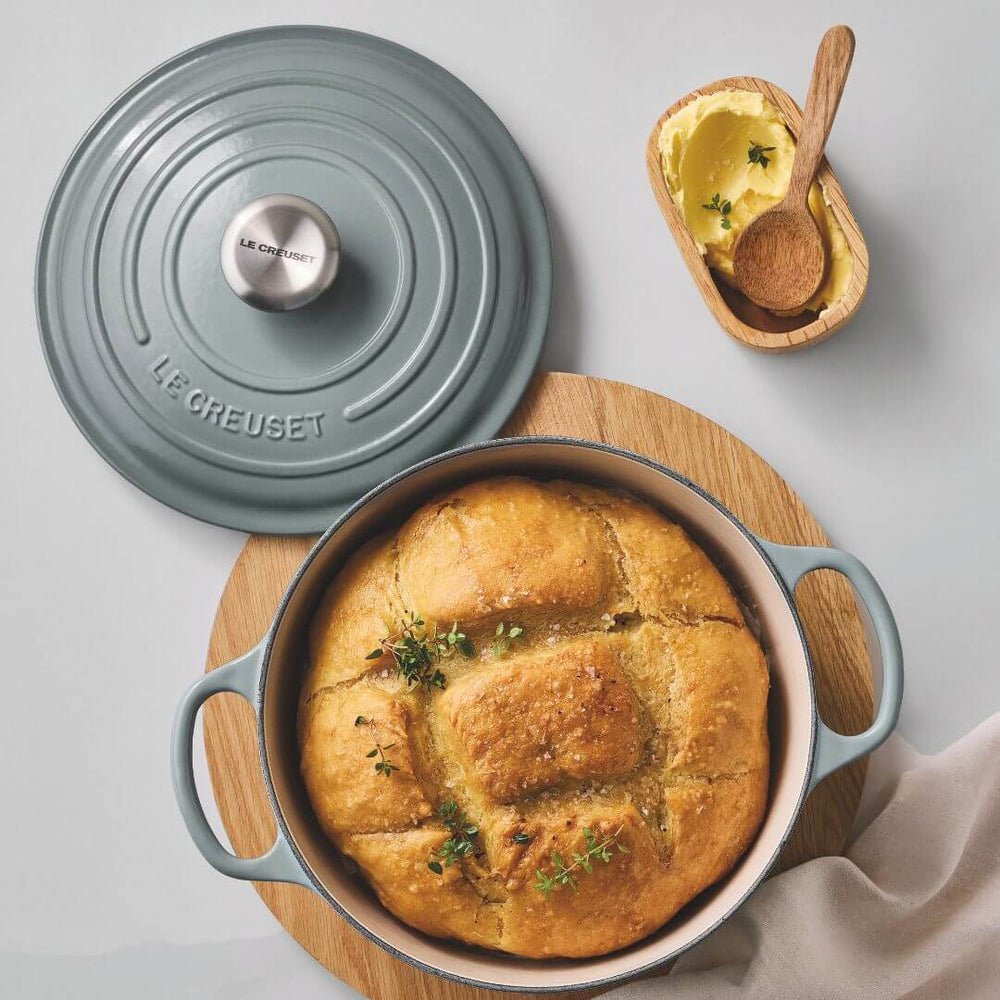
Browning improves the colour and deepens the flavour of all meat dishes. You can brown the meat in oil, or for a more savoury flavour include bacon in this step using the fat from the bacon to brown the meat. Don’t be tempted to crowd the pan (prevents the meat from ‘stewing’ and going grey rather than browning) and we recommend a good carbon steel or cast iron pan to give a reliably superior result.

Step 2. Cook the Aromatics
Next step – saute your chosen aromatics. Cooks worldwide all use variations of the same basics – onion, garlic, carrot, celery and peppers. These will give your dish a base layer of aromatic flavour and will add body to your sauce. Then riff off and choose flavour accents according to your preference – garlic, rosemary, tomato paste for Italian; chilli, ginger, star anise, orange rind for Chinese; fresh ginger, chilli and lemon grass for Vietnamese – you get the drift …

Step 3. Deglaze
Next, deglaze your pan. Deglazing lifts all those luscious, flavour packed ‘brown bits’ from the bottom of your pan and adds immense flavour. Again choose a liquid that will match the cuisine you love. Add the deglazing liquid to your pan and crank the heat up and reduce liquid by about half.

Add your liquid: Choose your casseroling liquid from the list below (generally a couple of cups for a family sized braise plus a cup or so of water).

Step 4. Bringing it all together
We recommend starting your braise with just your meat, aromatics and liquids etc. Resist adding your extra vegetables too early to save them overcooking. Ensure your casserole dish or slow cooker has a well fitting lid to minimise moisture loss (and if you are new to using an electric slow cooker, we find adding just enough liquid to barely cover the meat is enough. Slow cookers allow for very minimal moisture loss and too much liquid added at the beginning can result in a very watery, flavourless braise). Another tip – lay a piece of crumpled parchment paper over the surface of your casserole to prevent moisture loss protection.
Step 5. Add the vegetables
Add your vegetables in stages according to their cooking times, so that when the meat is done the vegetables are tender but not over cooked. You don't have to use equal amounts of each vegetables but remember that raw vegetables will release moisture so be careful when adding extra liquid. A rough guide for adding your vegtables:

For Pork or Veal: Add slower cooking vegetables after 30mins of stewing and quicker cooking after an hour
For Beef or Lamb: Add slower cooking vegetables after an hour of stewing then quicker cooking after an hour and a half.
Approx. total stewing times:
Beef 2-3 hours.
Lamb 2 1/4 - 2 3/4 hours.
Pork or Veal 1 1/2 - 2 hours.
Step 6. Finish the casserole.
Add bright ingredients when the meat is fully tender and season with salt & pepper. You can serve the casserole right away, but it's even tastier the next day when the flavours have had more time to fully develop. You can choose up to four finishes from the selection below. Please note if you are using beans, add them then return the casserole to the oven for another 5mins, before adding your other selections and serving.


