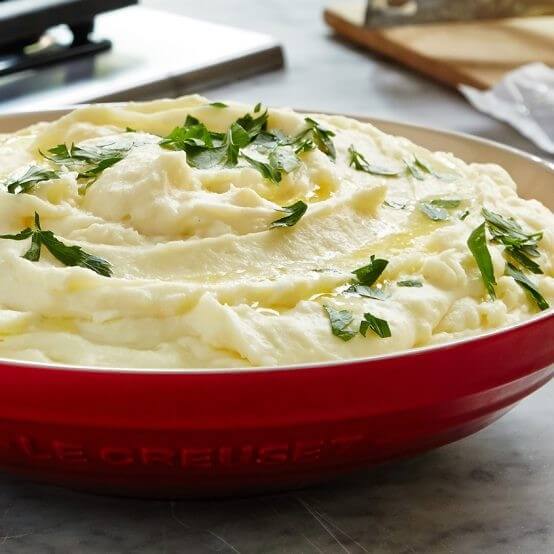
Milly's 101: The Perfect Mash
A big buttery mound of mashed potatoes topped with a rich braise or casserole – we can think of little better on a cold, blustery winter’s night. But so often mash is done poorly – soggy or watery, lumpy or dry – an utter disappointment. Armed, though, with a few of Milly’s tips and tricks you’ll be well on your way to producing a mash to be proud of, every time.
1. Start with the correct spud
Our friends at Dish magazine have a wonderful list of the best spuds for different applications and for mashing they suggest “floury: fluffy on the inside. Varieties: Fianna, Ilam Hardy, Red Rascal, Agria and Laura (marketed as Red Jacket).” A number of these can be hard to find but your local farmers’ market is often a good place to start – and most people can access good, old Agria these days. Floury potatoes mash up better and more easily than waxy (which are better for boiling, steaming and salads as they hold together well).
2. Cut into even sized pieces
It makes sense to cut your spuds into even sized chunks so they’ll cook evenly.
3. Old into cold – potatoes that is!
My grandmother always said that anything other than brand spanking new baby potatoes should be started in lots of cold, fresh water – and, this is from Milly’s – don’t add salt until the water is boiling otherwise you risk getting little white salt pits over the base of your saucepan which can never be removed. Once they’re at the boil, salt generously, lower the heat, set the pot lid askew and simmer for about 15 minutes, or until a butter knife easily slips right through the potato.

4. Drain really well
Tip your potatoes into a colander and give them a really good shake and drain. Excess moisture is the enemy here. Once drained place the potatoes back into the saucepan over a low heat and give them another few minutes to really dry out.
5. To mash or to rice – that is the question
And the answer is … how smooth do you want your mash and how much time do you have? Mashing is definitely quicker but if you employ the talents of a good potato ricer you will definitely have a superior result (in our humble opinion). Looking much like a large garlic crusher, a ricer is simply a large ‘press’ with which you turn hot, cooked potato into light, fluffy rice just begging for lashings of butter and cream.
One last thing – never use a food processor for this job as you’ll just overwork your mash making it only useful if you’re doing a spot of wallpapering!

6. Keep the heat on
Now’s the time to add your butter and milk – and they should always be hot, never cold. Hot butter and milk/cream will be absorbed much more readily into your potatoes meaning the risk of over working them is minimised.
7. Don’t be a miser
Don’t be tempted to skimp on the butter, the milk or cream or the salt and pepper. Other flavour enhancers we employ are sour cream or butter milk (potatoes actually love a bit of sour), garlic bulbs slung to cook with the potatoes and then squeezed into the potatoes before mashing, various cheeses and olive oil can all add gorgeous flavour and ring the changes.
8. Serve immediately
Time, tide and mashed potato wait for no man! Get everybody up to the table and bring your steaming cauldron of mash (topped with an extra pat of butter or two) for them to dig straight into.
9. Not just potatoes
Don’t forget kumara, parsnip, pumpkin and butternut and even swede – they will all benefit from the rules above!


