Milly's 101: Marvellous Meringue
With the likes of Melbourne sensation Charlie Buckett and a UK based Kiwi member of ‘The Meringue Girls’ inspiring Instagram pages worldwide, meringues have made a tremendous comeback. Gone though are the plain old white meringues most of us remember; they’re now all about colour, flavour and a good old dose of va-va-voom. Whether you’re making mammoth meringues to serve with lashings of cream and fruit curd for a hearty dessert or petite colour-striped kisses, these divine morsels are very on trend right now.
A word about your ingredients:
Egg whites – We think really fresh, room temperature eggs work best for meringues as older egg whites won’t hold their beaten air bubbles as reliably. Don’t forget to separate your egg whites super carefully so as to avoid any chance of yolk in the whites.
Caster Sugar – We recommend using caster sugar rather than white table sugar. The finer crystals of caster sugar will incorporate into your eggs much faster and total absorption of the sugar is vital for non-weeping meringues and pavlovas.
Cream of Tartar – Which works to stabilise egg whites and increase their heat tolerance (essentially gives you more room for error.)
Food Colouring - Wilton Gel colours are great to use when colouring meringues as they allow strong colour without excess moisture (the enemy of perky meringues!).
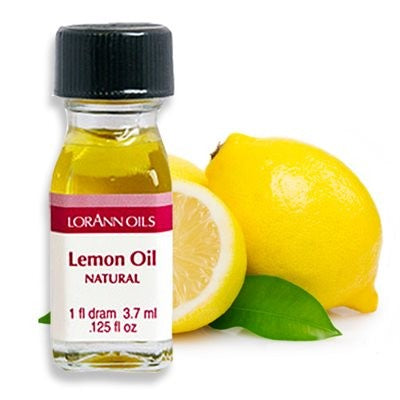
Flavourings – Choose from ground nuts and seeds, dehydrated fruit powders, cocoa, coffee, rose or orange blossom water, coconut, spices and chocolate.
To Decorate - Meringues can be decorated with anything from sprinkles, melted chocolate, nuts or seeds, fruit powders to edible paints and spray colours, edible glitters – the options are endless!
Don’t forget the egg white rules:
• Ensure all tools and equipment are clean, dry and completely free of any trace of grease or fat.
• Take extra care when separating whites from yolks - yolks are fat, see above.
• Warming the sugar slightly prior to adding to stiff-peak egg whites will help the sugar dissolve faster.
• Never use plastic bowls as these are more difficult to clean and can harbour traces of fat or grease.
• Always make your meringue mixture and cook it immediately.
Storage: Once completely cooled, meringues are best stored in an air-tight container. They should last for a week or two.

Milly’s Totally Foolproof Basic Meringue Recipe: Ideal for Meringue Kisses
300g caster sugar
150g egg whites (approx 5 x size 7 eggs)
¼ tsp Cream of Tartar (optional)
Pre heat oven to 200°C
Line a baking tray with baking paper and pour on the caster sugar. Spread out evenly on the tray and place the tray in the oven until the edges just begin the melt (approx. 5-7 mins). This step is optional but it’s good to try at least once so you can see the difference this warming the sugar makes.
While the sugar is heating place the egg whites in the bowl of your stand mixer (fitted with the whisk). Whisk on low speed initially to just break up the yolks a little then, when bubbles start to form, increase the speed to medium. Add your Cream of Tartar now if you’re using it then increase the speed again until stiff peaks form. Try not to take it to completely dry peaks – just stiff but still with a little shine.
Remove warmed sugar and decrease oven temperature to 100°C. Add a heaped spoonful of the sugar at a time to the egg whites, whisking well after each addition. Once all of the sugar has been added, continue to whisk on high speed until the sugar is completely dissolved – this could take as long as 6-8mins. To test, rub a little of the mixture between your fingers - ideally it should feel smooth – if it still feels gritty, keep whisking.
Line a baking tray with baking paper. Fit a piping bag with a Wilton 1A nozzle and, if desired, colour stripe the bag using Wilton Gel colour and a decorating brush. Fill with the meringue mixture. Pipe kisses in rows, onto baking tray. Bake for 30-40mins until meringues easily lift away from the baking paper.


